Visual Studio Team Services (VSTS) is a service from Microsoft which provides collaboration tools for teams, version controls (Git & TFS) and continuous integration. It’s great for a start-up or small company as they’re free for 5 users. In this post, I will introduce you the steps to start to work with VSTS.
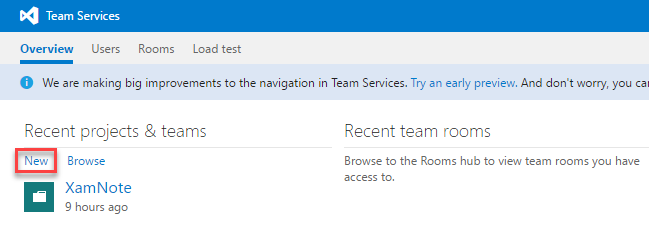
After creating your account, let’s start with creating your project. Open Overview then click New
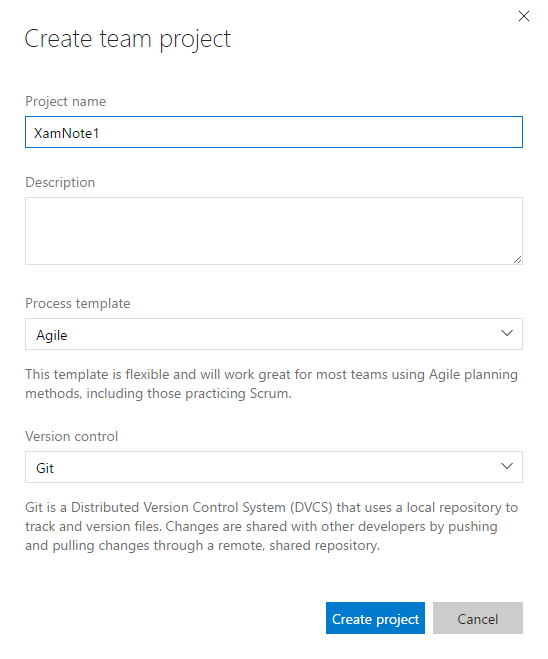
Enter project name, select process template and version control you want to use then click Create project
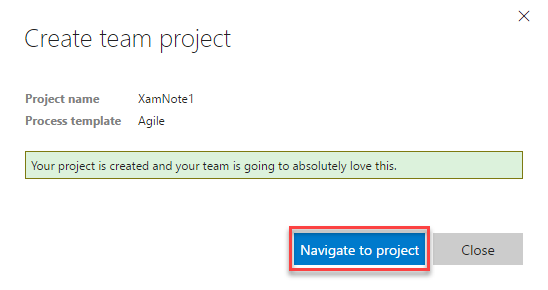
After waiting for VSTS to create new project, just click Navigate to project to open the project
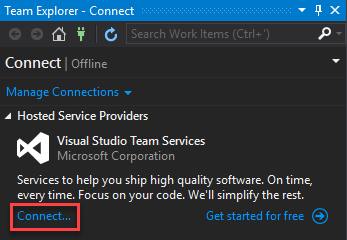
Now we move to Visual Studio (VS). Open Team Explorer pane then click Connect…
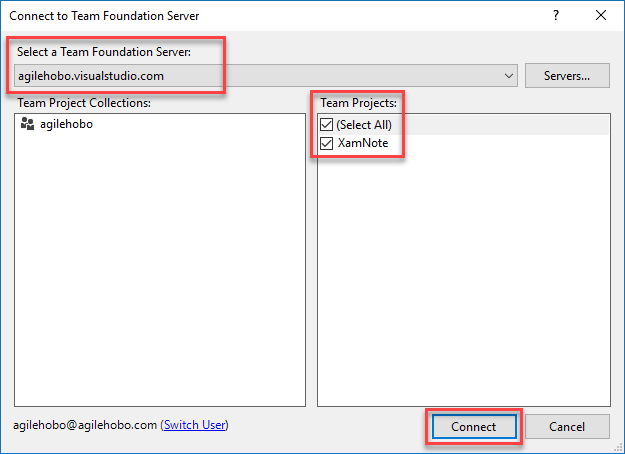
Let’s connect to VSTS, select Team Projects you want to work on then click Connect
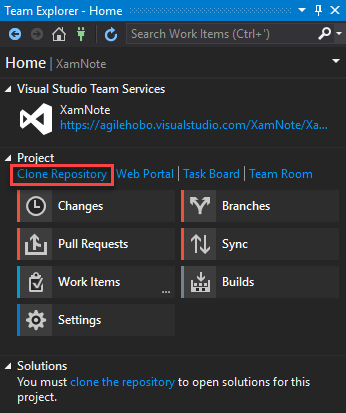
After connecting to VSTS, just select the project you want to work on the click Clone Repository
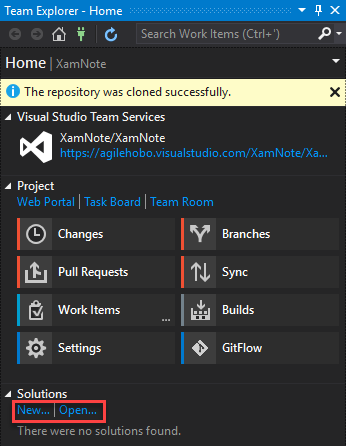
After cloning the repository, you can create new or open existing solution on your PC to start to work
Once you finish above steps, you can commit the code to VSTS, create work items, start tracking them and create build configuration to do continuous integration. They will come in later posts.